Engine upgrade - part #4 - block assembly
The block is back from the workshop, clean as a silver plate, and finally I could start to assemble the engine. Torques are taken from the Ford Duratec assembly manual unless other sources are mentioned.
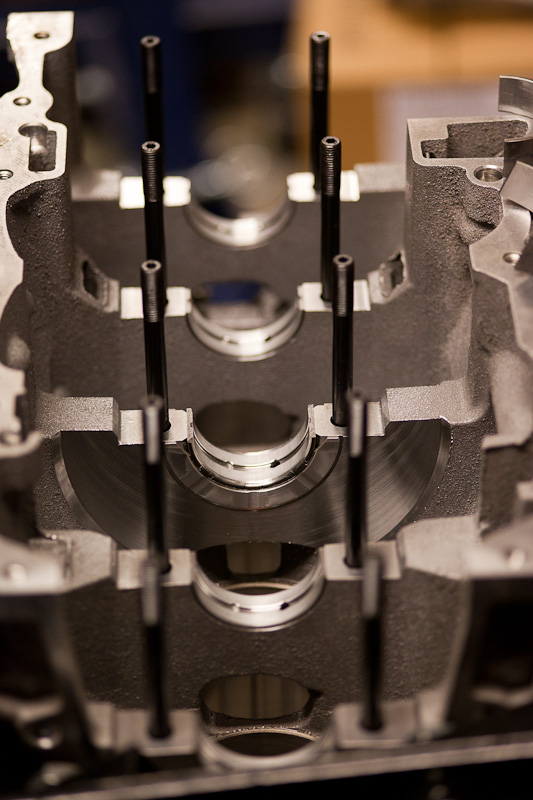
´
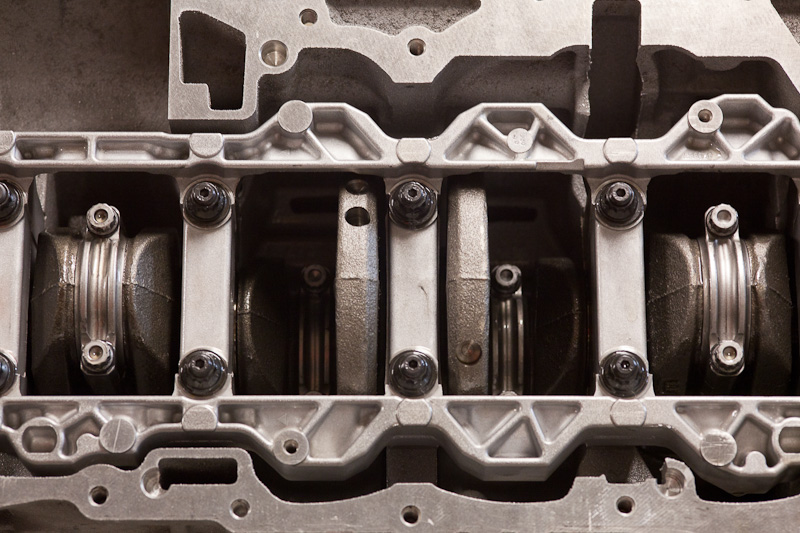
- Main bearings, greased with assembly lube
- Crankshaft
- ARP main bolts (60 lb/ft in = 89 Nm in three equal steps with ARP lube. Source: ARP)
- Rear oil seal (9.8 Nm)
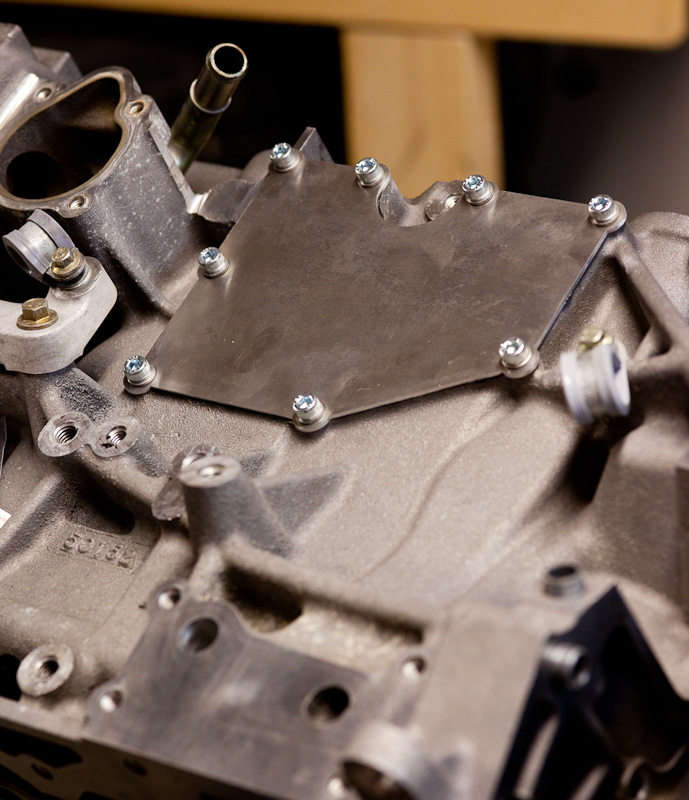
- Crank oil breather cover plate (9.8 Nm with Loctite 5910 sealant)
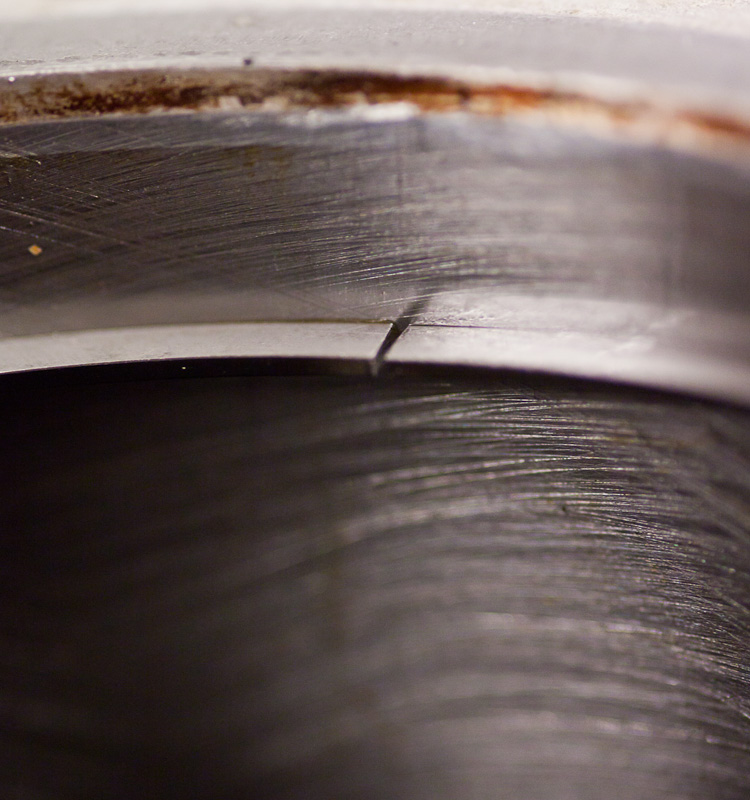
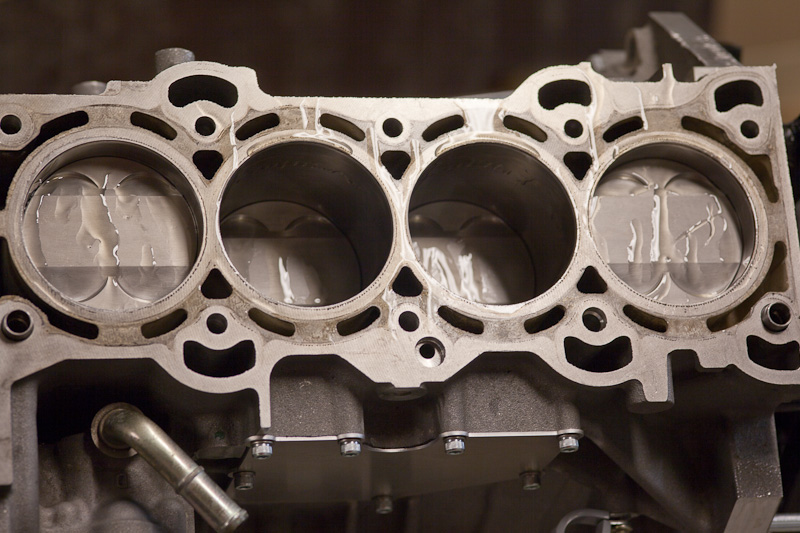
- Checking piston ring gap using feeler gauges. Upper compression rings needed some adjustment - I gapped them so the 0.40mm feeler just could get between with some resistance. (upper 0.25-0.51mm, lower 0.50-0.63mm. Source: Cosworth)
Carrillo recommends the following method for tighten con-rod bolts: "In order to check bolt stretch, simply fixture one rod, leaving the cap portion free from clamping load. Measure both bolt lengths loose, then progressively tighten the bolt until the measured increase in length correlates with the figures below. Use the indicated torque reading to tighten all the connecting rods in final assembly." Specified stretch is 0.130-0.160mm, max 54 Nm. Source: Carrillo.
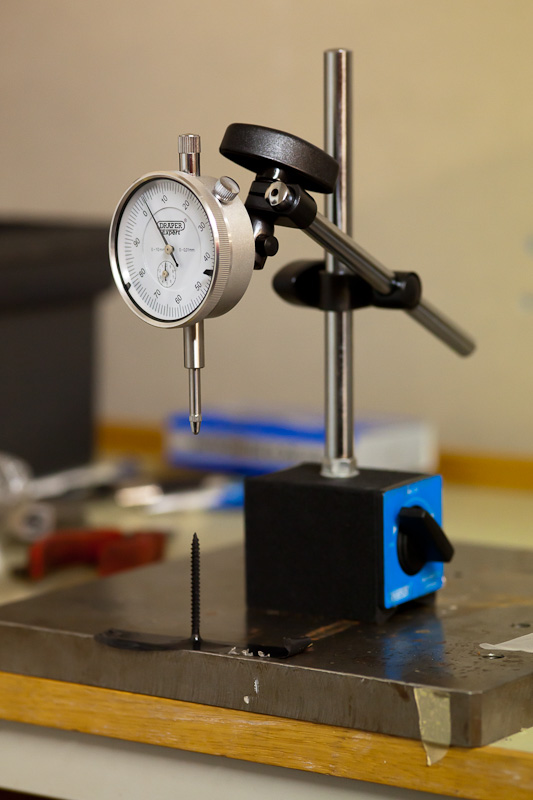
Well, even if my stretch gauge was a bit primitive I was pretty sure I didn't reach the min-stretch value using 54 Nm of torque, even if I tighted them serveral times. After consulting Carrillo I got the response "The 40 ft lbs (=54 Nm) is the number we use to make sure that people who do not check stretch do not over torque the fasteners. If you have to go above the 40 ft lbs this is ok to do to reach the proper stretch."
I used the anti-seize lube supplied with the rods.
Then some trouble...
When I was about to mount the dry sump, it got apparent that something was wrong. The new ARP studs where a bit too long, and interfering with the bolts fasting the sump's windage plates.
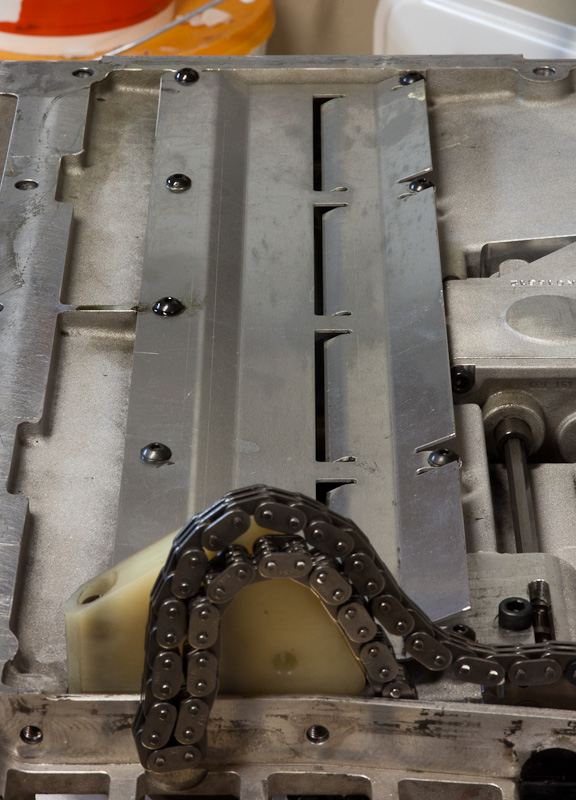
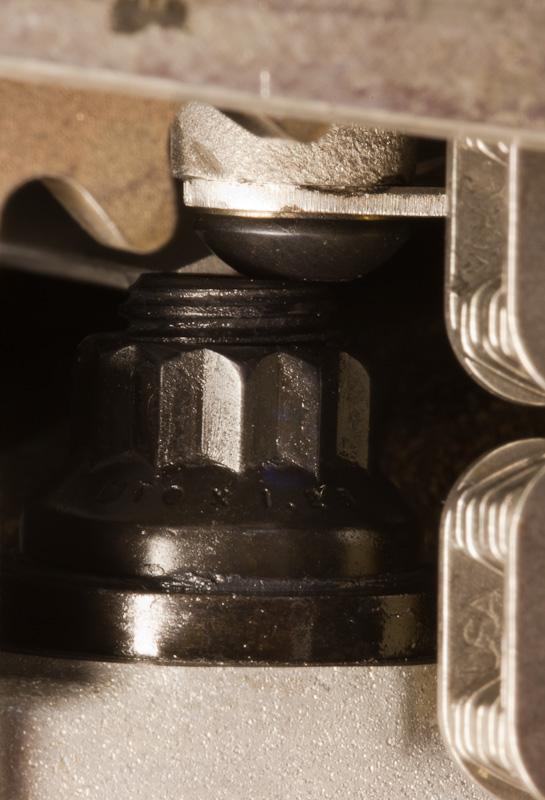
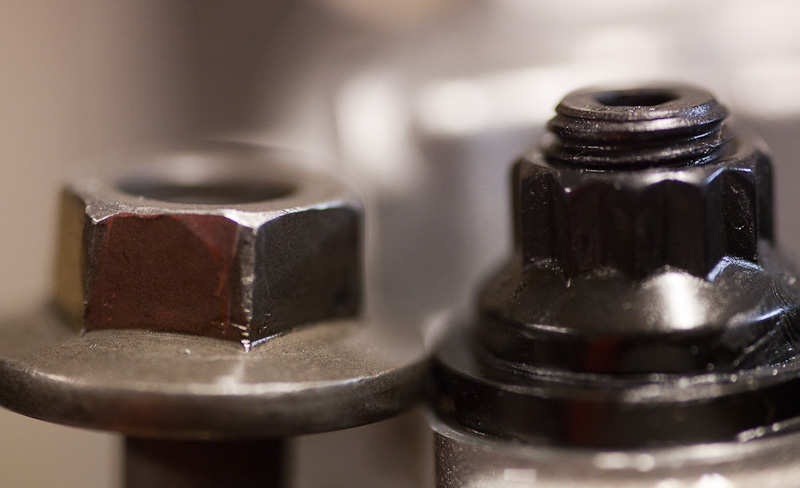
Cosworth say they use OEM bolt on their 280 crate engines, but in their catalogue they have the option to upgrade to ARP bolts. When looking at pictures on the dry sump, they looks a bit different than mine so I maybe I have an early version of the sump?
Some people I asked said the OEM main bolts could be reused. Other said never, ever, reuse TTY bolts. One or two of my old OEM bolts looked a bit stretched, and was a few tenths of mm longer than the others so I didn't dare reusing it.
I consulted ARP technical support who said that it was ok to remove some material from the studs if they're too long. They also said never to mix different materials, the washer included.
So it took the studs out from the engine again, and cut about 3 mm with a angle grinder. Much easier than I thought it would be, they cut right off. Unfortunately that was not enough as I also had to grind the windage plate bolts in the sump making their profile a bit lower. (and harder to remove in the future).
And finally I could mount the dry sump. I used Loctite 5910 sealant.
- Oil pump chain + spockets + tensioner. New uprated friction washers on the main shaft sprocket.
- Water pump + thermostat
- Oil cooler and filter holder
Next part: Engine upgrade part #5 - Head
All parts:
Engine upgrade part #1 - intro
Engine upgrade part #2 - disassemble
Engine upgrade part #3 - parts
Engine upgrade part #4 - block assembly
Engine upgrade part #5 - head
Engine upgrade part #6 - putting it together
Engine upgrade part #7 - electrical and fuel
Engine upgrade part #8 - first start
Engine upgrade part #9 - final results
0 archived comments
Preserved from the original blog. New comments are closed.