Engine upgrade - part #6 - putting it together
- Head and block now back together with new ARP bolts and new gasket. 60 lb/ft in three stages and ARP lube. A dab of sealant on marked spots in the assembly guide.
- Chain guides and cam chain.
- Alternator
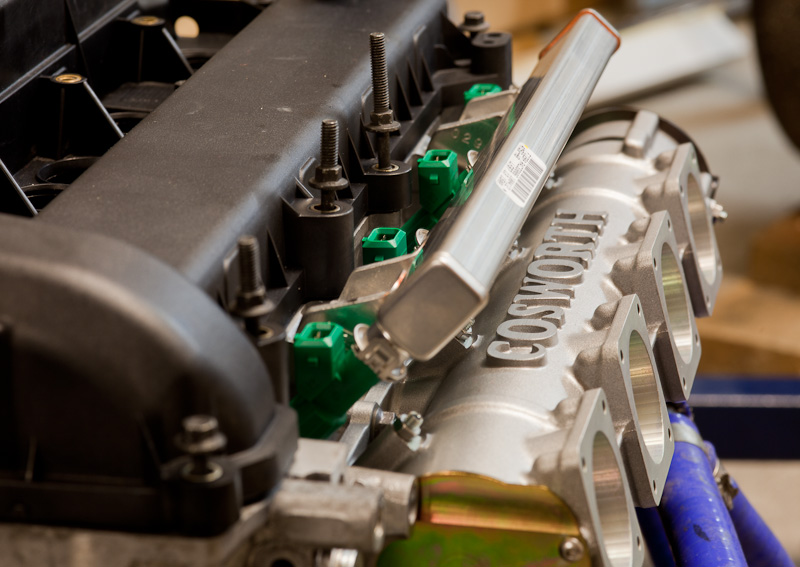
- Roller barrels
- New fuel rail and injectors (310 g/min)
- I put the engine on the floor and mounted the flywheel with new OEM bolts. The flywheel could be easily locked using a chisel on the starter ring, holding it against the block.
- The old clutch. I already had the type of clutch used on CSR 260. I used an extended socket I normally use for the spark plugs as centring tool.
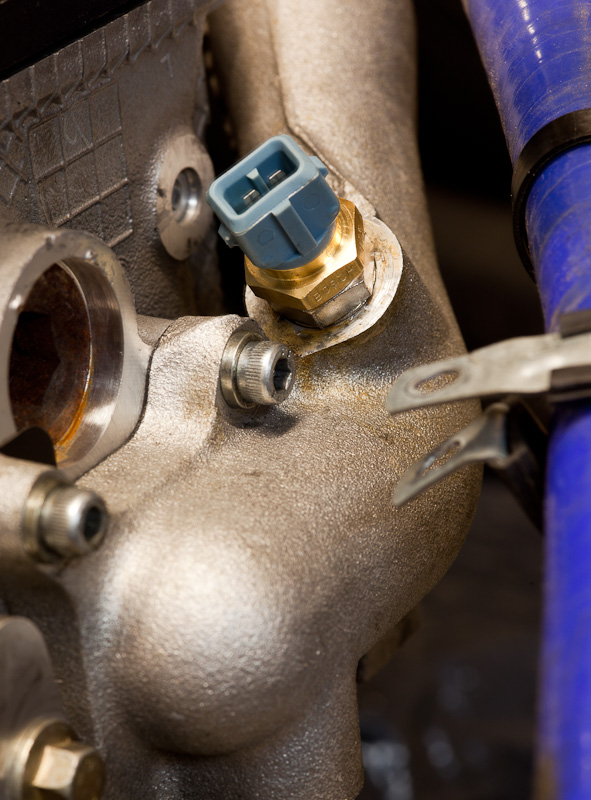
- Coolant hoses and coolant rail. I made a simple coolant temp sensor adaptor (M12*1.5 to 3/8" NPT). Or actually, I let the engine builder thread the inner hole because I didn't have the right tap.
- The old hose from the oil tank to sump was plugged using a standard brass 1/2" NPT plug from the hardware store. Here I can save a few grams by changing to an aluminium plug :-)
- Cam chain and camshaft sprockets with new bolts and new friction washers.
- Front cover with sealant
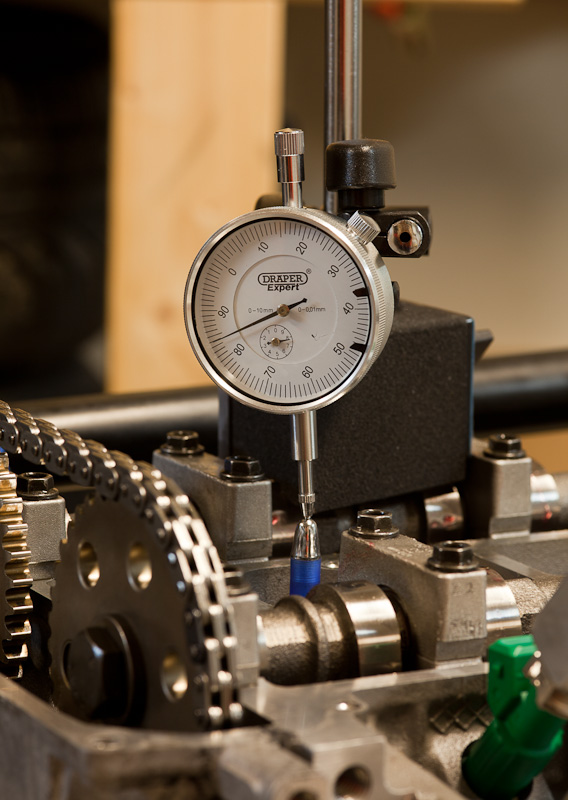
- Front pulley. New bolt and new friction washer. First I put cylinder 1 on true TDC, using a dial indicator and pencil. I locked the pulley with a small bolt through the locking hole. A helper hold the flywheel using the rear part of an hammer against the starter ring and a bolt in one of the bell housing holes. With a big breaker bar I could turn the bolt the last 90 degrees. Not easy, but it worked. The cams were not locked during the tightening of the front pulley.
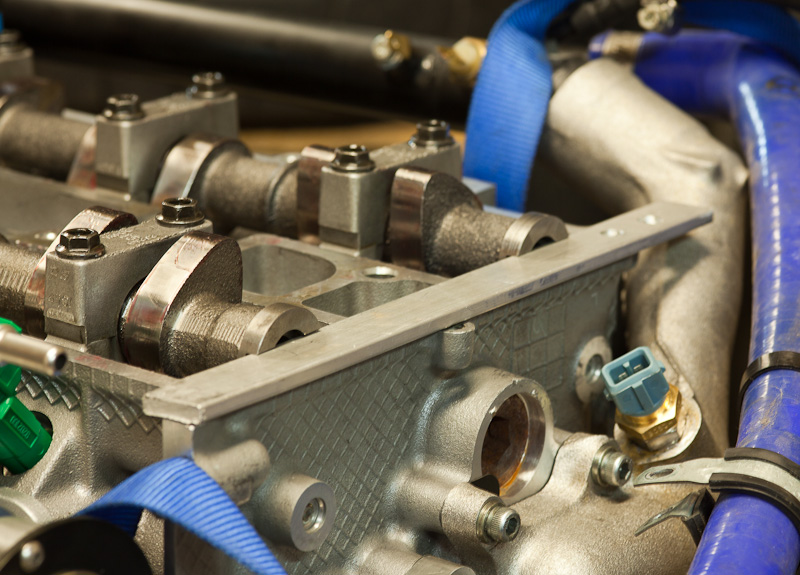
- Then it was time for cam timing. The cams where locked using the timing bar grooves and cylinder 1 was put at true TDC again, and the cam bolts where tighten. The timing was then measured with a dial indicator by turning the engine and with a degree wheel find when the intake and exhaust valves are fully open. To my surprise the timing was spot on and no adjustments were necessary.
- Cam cover
- Belt, belt tensioner
- Starter motor (35 Nm)
- Bellhousing and gearbox (47 Nm)
- Airbox and filter, using thread lock! I don't want any of those screws sucked into the engine.
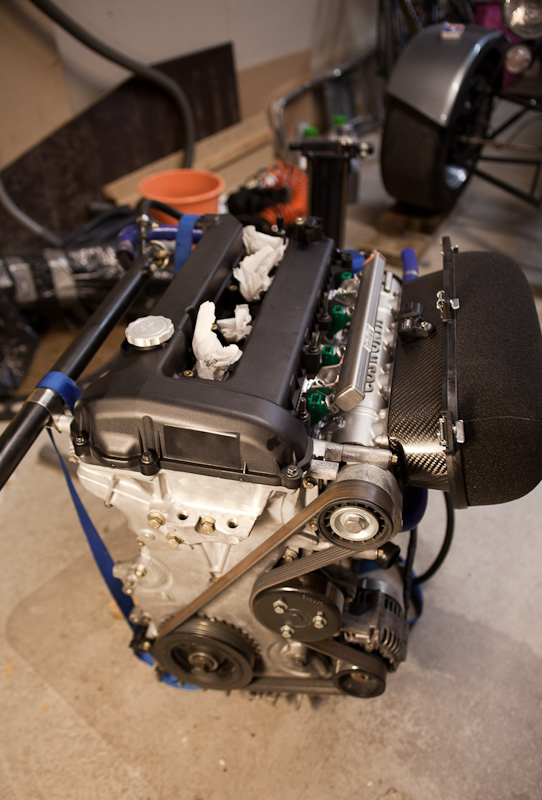
And... the engine is finished! Time to put it back into the car.
Shoe horning the engine into the car is really frustrating. After some cursing I removed the oil cooler/filter holder and starter motor. Much easier, but maybe not that easy to put them back on.
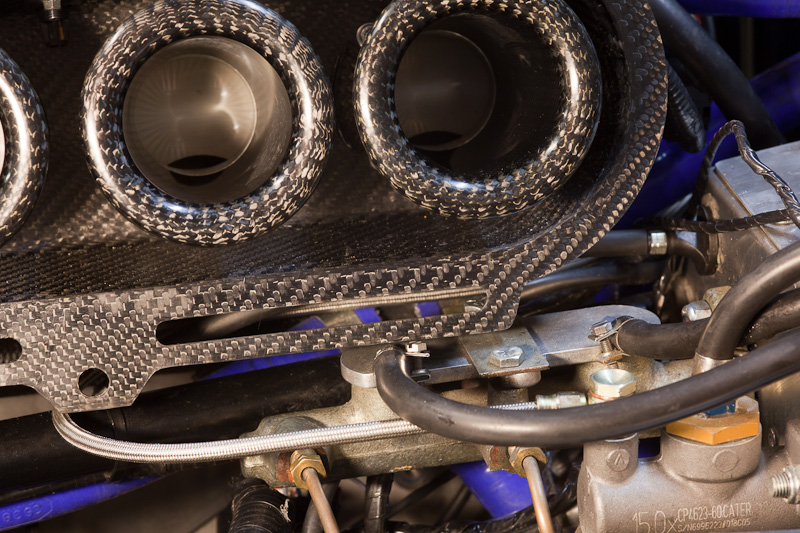
The brake master cylinder fooled the new air box, so I had to remove some carbon from the air box.
Next part: Engine upgrade part #7 - Electrical and fuel
All parts:
Engine upgrade part #1 - intro
Engine upgrade part #2 - disassemble
Engine upgrade part #3 - parts
Engine upgrade part #4 - block assembly
Engine upgrade part #5 - head
Engine upgrade part #6 - putting it together
Engine upgrade part #7 - electrical and fuel
Engine upgrade part #8 - first start
Engine upgrade part #9 - final results
0 archived comments
Preserved from the original blog. New comments are closed.